There’s nothing more frustrating than using your laptop for work, study, or play, only to find that your laptop not charging. Your laptop will always say “plugged in, laptop not charging.” This guide aims to demystify common laptop charging issues. It will provide practical, step-by-step solutions that users can follow to diagnose and resolve laptop battery issues, allowing users to restore full charge without panicking or heading to the repair shop. Understanding the common reasons why a laptop battery won’t charge is the first step to effective troubleshooting.
Understanding Why a Laptop Not Charging: The Top 5 Culprits
While a computer not charging may seem like a complex problem, most issues fall into a few common categories. By understanding these categories, you can systematically troubleshoot and identify the problem. This section will cover the five main causes to lay the foundation for a deeper dive into each cause.
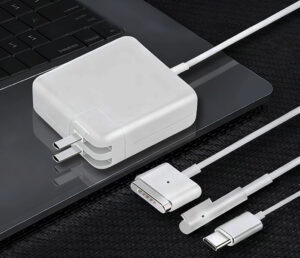
Problem 1: Power Supply & Physical Connection Issues:
This is often the simplest and most overlooked cause. It could include issues with the charger, cable, wall socket, or the laptop charging port itself.
Problem 2: Software & Driver Malfunctions:
The laptop’s operating system and its associated drivers are responsible for managing battery charging. Outdated, corrupted, or misconfigured software can severely impair proper charging.
Problem 3: Battery Health Degradation:
Like all rechargeable batteries, laptop batteries have a limited lifespan and their ability to hold a charge naturally decreases over time.
Problem 4: Overheating:
Overheating may trigger a safety mechanism within the laptop, which may stop the battery from charging to prevent it from being damaged.
Problem 5: Internal Hardware Damage:
More serious problems in the laptop’s circuitry, such as a damaged power jack on the motherboard, usually require specialized knowledge to confirm.
To provide a rapid initial diagnostic starting point, the following table summarizes the top five problems and their common symptoms, along with a quick initial action.

Problem 1: Power Supply & Physical Connection Issues
This type of problem is often the source of “laptop battery won’t charge” complaints. The power delivery chain is only as strong as its weakest link. Frequent plugging and unplugging, tightly twisted cords, or accidental pulling can damage delicate wiring, the AC adapter, or the charging port itself. Dirt, dust, or debris can also clog the charging port connection. Additionally, incompatible or underpowered chargers can prevent effective charging, sometimes even resulting in error messages or degraded performance. The power delivery components are interconnected, which means a systematic, step-by-step approach is essential for accurate diagnosis.
Solutions for Power Supply & Physical Connection Issues
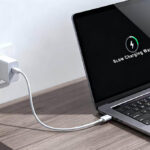
1. Check All Physical Connections:
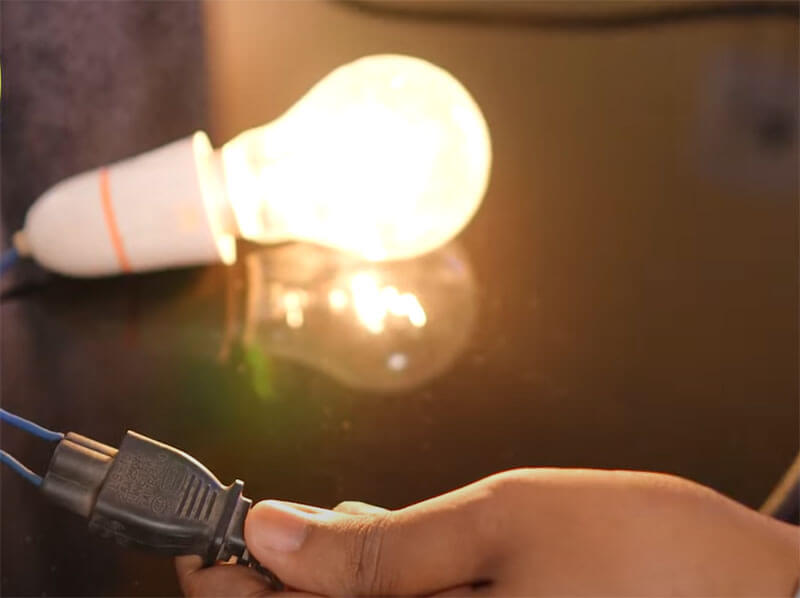
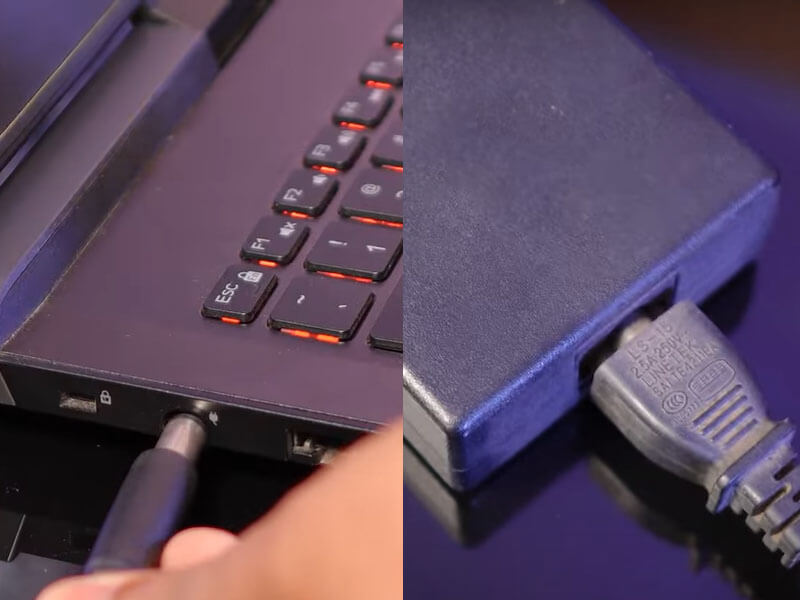
The first step is to confirm that each component in the power chain is securely connected. First, unplug the laptop charger from the wall outlet and the laptop. Inspect all connection points for any visible damage or debris. Then, securely reconnect the charger to the wall outlet and the laptop. To confirm that the wall outlet is working properly, plug in another device, such as a lamp or a phone charger. If a surge protector is used, bypass it and plug the laptop directly into the wall outlet to rule out an issue with the protector. Pay special attention to the connection points on the laptop; if they feel loose or wobbly, the charging port itself may be damaged.
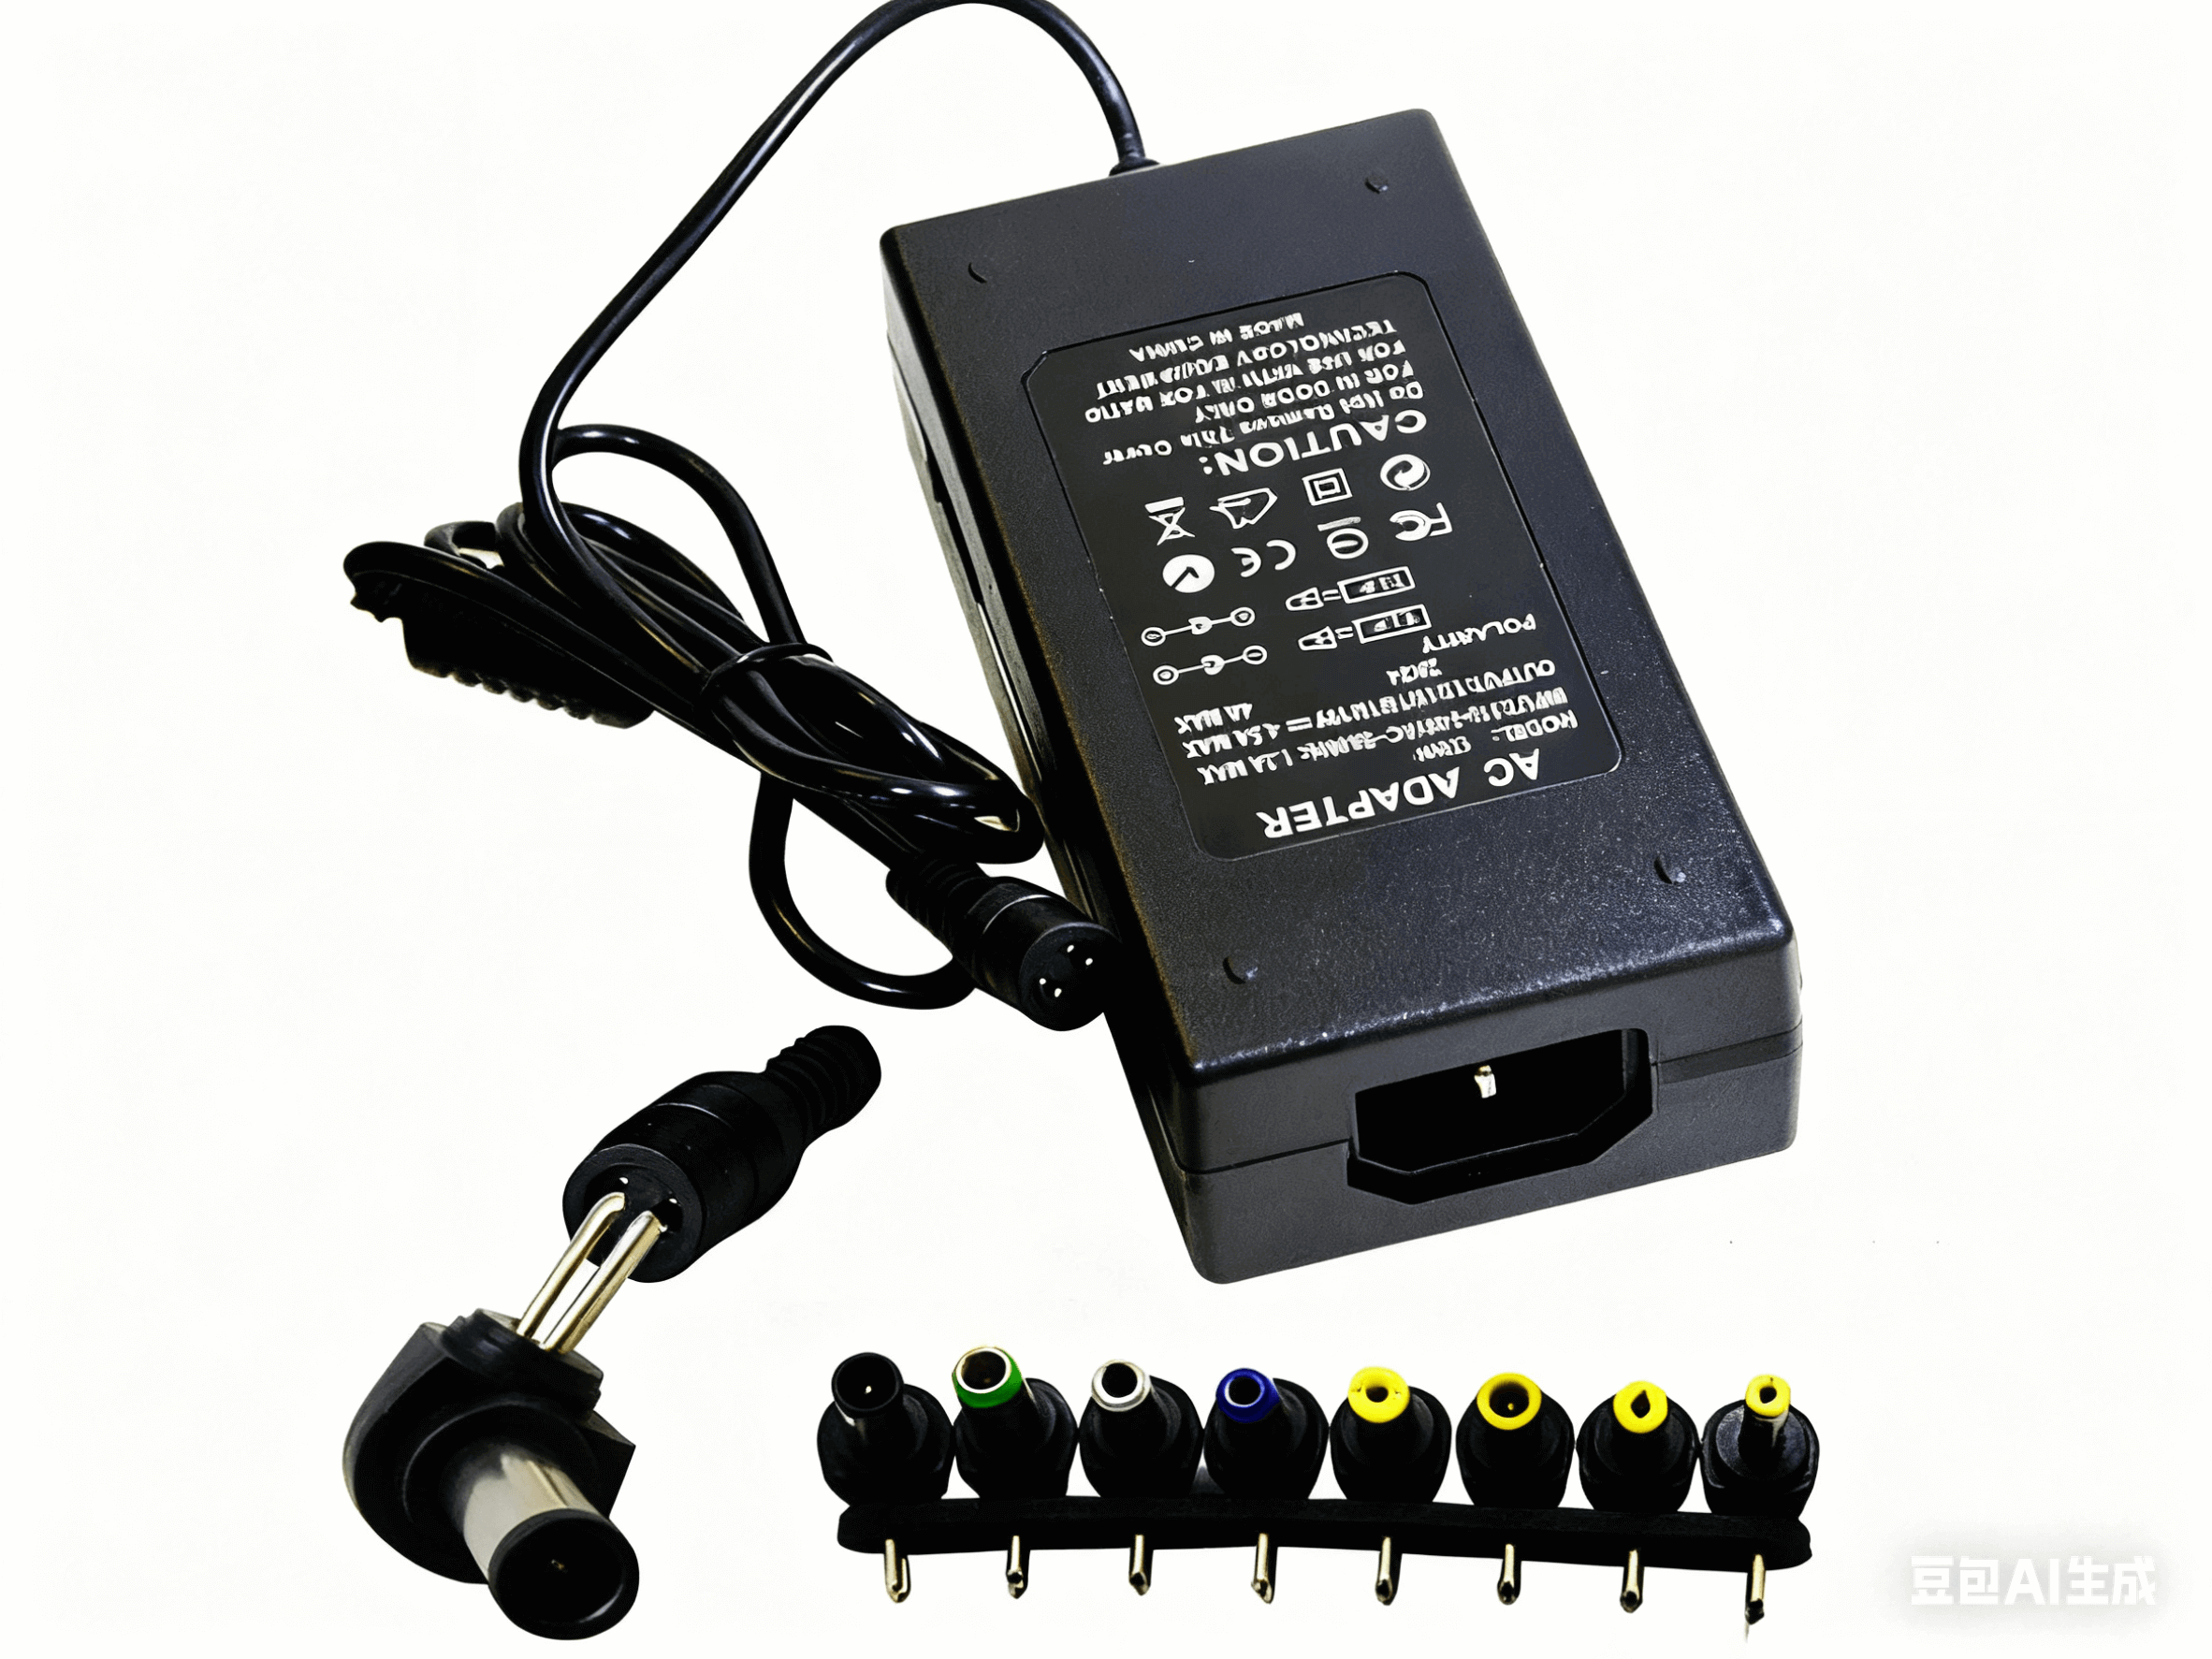
2. Inspect the Power Cord and Adapter:
The charging cable and adapter module need to be thoroughly inspected. Check for signs of wear, exposed wires, kinks, bends, discoloration, deformation, or loose connections. Gently bending the charging cable, especially near the connection point, can help identify intermittent faults. If any damage is found, it is recommended to replace the entire charger. It is important to remember that these symptoms are not only indicators of functional failure, but also important safety warnings. Frayed wires pose a risk of electric shock, and overheating or burning odors indicate a potential electrical fire or battery explosion. If these serious symptoms are observed, stop use immediately.
3. Clean the Charging Port:
Visually inspect the laptop’s charging port for any dust, lint, pet hair, crumbs, or other debris. Carefully remove any visible obstructions. For smaller particles, compressed air can be used gently. Ensure the port is completely dry before re-plugging the charger.
4. Verify the Correct Charging Port (especially USB-C):
Many modern laptops utilize USB-C for charging, but not all USB-C ports support power delivery. On laptops equipped with multiple USB-C ports, typically only one or two are designed for charging. Consulting the laptop’s user manual or looking for a small charging icon next to the appropriate USB-C port can help identify the correct one. Trying different ports may resolve the issue.
5. Test with a Different Charger (if possible):
If another compatible charger is available (e.g., borrowed from a friend or coworker), attempting to charge the laptop with it can help determine if the original charger is faulty. It is crucial to ensure that any replacement charger matches the laptop’s required wattage and voltage to prevent performance issues or damage. An underpowered charger might provide some power but insufficient to charge the battery while the laptop is in use, or it may charge very slowly, potentially leading to system performance throttling. This highlights that a charger that physically fits is not necessarily the correct one for optimal charging efficiency and laptop health.
Problem 2: Software & Driver Malfunctions
In addition to physical issues, software issues can also severely affect the charging functionality of a laptop. Outdated, corrupted, or missing battery drivers (especially the “Microsoft ACPI-Compliant Control Method Battery” driver) can prevent the operating system from communicating correctly with the battery. Incorrect power management settings, such as battery charging thresholds (such as Lenovo’s “Energy Saver Mode”), can intentionally stop charging at a certain percentage, causing users to mistakenly believe there is a problem when in fact it is just a functional issue. Operating system glitches, or even recent Windows updates, can cause charging issues. Finally, an outdated BIOS (Basic Input/Output System) can fundamentally affect power management. The control system inside a laptop is layered, with the BIOS responsible for starting the hardware, the drivers acting as an intermediary for the operating system to communicate with the hardware, and the operating system providing user-facing management. A failure at any layer can cause charging to be interrupted.
Solutions for Software & Driver Malfunctions
1. Perform a Hard Reset (Power Drain):
This is a common first step for many software and transient hardware failures. It discharges residual power from internal components, effectively clearing temporary conditions that may have confused the system. This action does more than just restart the software; it physically clears any residual charge from the laptop’s capacitors and memory, forcing a complete hardware reinitialization.
2. For laptops with removable batteries:
Shut down the laptop completely and unplug the charger. Remove the battery. Press and hold the power button for 15-30 seconds to drain residual power. Reinsert the battery, plug in the charger, and power on the laptop.
3. For laptops with non-removable batteries:
Shut down the laptop and unplug the AC adapter. For some models, holding the power button for 15-30 seconds (or even 60 seconds for specific Dell models) can perform a power drain. Some Dell laptops might require a “Real-Time Clock Reset” by holding the power button for about 30 seconds until the power LED blinks three times.
4. Update or Reinstall Battery Drivers:
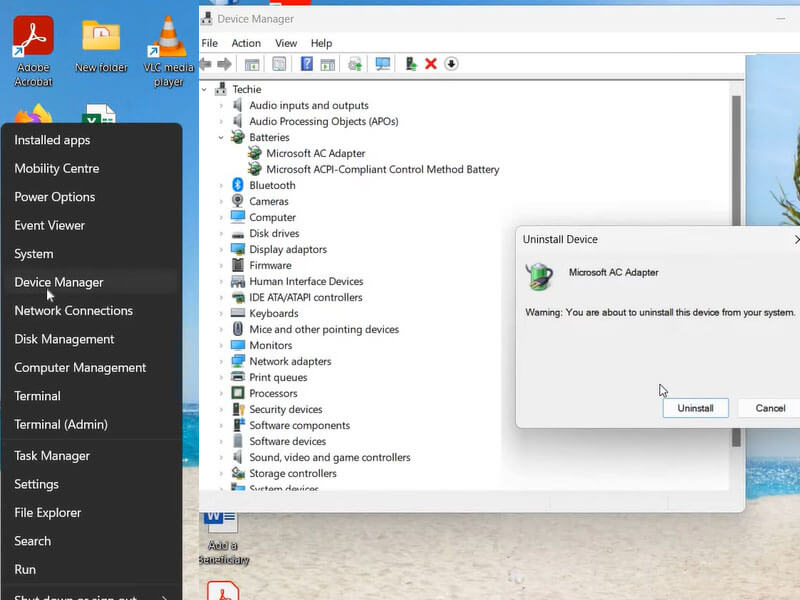
Outdated or corrupt drivers are a common cause of charging issues. The “Microsoft ACPI-Compliant Control Method Battery” driver is critical for the operating system to communicate with the battery.
Right-click the Start button (or press Windows Key + X) and select “Device Manager”. Expand the “Batteries” section. Right-click on “Microsoft ACPI Compliant Control Method Battery” and choose “Update driver.” Follow the prompts to search automatically for updated drivers. If updating does not resolve the issue, try uninstalling the driver (right-click and select “Uninstall device”). Then, restart the laptop. Windows will automatically reinstall the necessary driver upon reboot.
5. Run the Power Troubleshooter:
Windows includes a built-in troubleshooter that can identify and fix common power-related issues. Open Windows Settings (Windows Key + I). Navigate to System > Troubleshoot > Other troubleshooters (in Windows 11) or Update & Security > Troubleshoot > Power (in Windows 10). Find “Power” in the list and click “Run.” Follow any on-screen instructions to complete the troubleshooting process.
6. Adjust Power Management Settings:
Certain battery settings can affect charging behavior, sometimes intentionally. Features like “Battery Charge Threshold” or “Conservation Mode” are designed to extend the overall lifespan of the lithium-ion battery by stopping charging at a certain percentage (e.g., 60-80%). The system might report “plugged in, laptop not charging,” but this is by design and not a malfunction.
Open Windows Settings and go to System > Power & sleep. Click “Additional power settings” (or search for “Edit power plan” in Windows search). Select “Change plan settings” next to the current power plan, then click “Change advanced power settings.” Expand the “Battery” section. Ensure “Critical battery action” and “Low battery action” are not set to shut down or sleep when plugged in. For specific brands (e.g., Lenovo), check for “Conservation Mode” or “Battery Charge Threshold” settings in manufacturer-specific software (like Lenovo Vantage, Energy Management, Power Manager, OneKey Optimizer) or in the BIOS. If enabled, disable them to allow full charging.
7. Update BIOS (Basic Input/Output System):
An outdated BIOS can sometimes cause power management issues. Visit the laptop manufacturer’s support website (e.g., Dell, HP, Lenovo, Asus) and search for BIOS updates for the specific model. It is important to follow the manufacturer’s instructions carefully, as a failed BIOS update could render the laptop unusable. This step is typically only used by advanced users or when other solutions have failed.
8. Uninstall Recent Windows Updates:
If the charging issue began immediately after a Windows update, the update itself might be the cause. Open Windows Settings > Windows Update > Update history > Uninstall updates. Right-click the recently installed update and select “Uninstall”.
Problem 3: Battery Health Degradation:
Laptop batteries, primarily lithium-ion, have a limited lifespan. Over time and with each charge and discharge cycle, their ability to hold a charge naturally diminishes. Signs of a dead battery include significantly reduced runtime, rapid battery drain, and the adapter plugged in but not charging to 100% or gets stuck at a certain percentage. Physical signs, such as bulging, are key indicators of severe performance degradation and potential safety concerns. Extreme temperatures and poor charging habits, such as continuous full discharge/charge cycles, can accelerate battery degradation. In some cases, a completely dead battery can prevent the laptop from powering on at all without a charger.
Solutions for Battery Health Degradation:
1. Check the Battery Health Report (Windows):
Windows has a built-in tool that generates a detailed battery report that gives you insight into the current condition and history of your battery.
Open a command prompt as an administrator: Select Search on the taskbar, type Command Prompt, right-click it, and then select Run as administrator > Yes. In the command prompt, type powercfg /batteryreport and press Enter. The report is stored as an HTML file in a folder on your PC (the location shown in the command prompt). Open it in a web browser.

When reviewing the report, compare the Design Capacity (original capacity) with the Full Charge Capacity (current maximum capacity). If the Full Charge Capacity decreases significantly and continuously over time, this indicates that the battery is degrading. Also, check the Cycle Count (number of full charge/discharge cycles), as batteries have a limited number of cycles.
2. Inspect for Physical Damage (if battery is removable):
If your laptop uses a removable battery, shut down the laptop, unplug the charger, and carefully remove the battery. Inspect the battery for any signs of physical damage: bulging, swelling, cracking, leaking, or sticky residue. It’s important to understand that a bulging battery is not just a performance issue, it’s a serious safety hazard. Carbon dioxide (CO2) gas forms inside the battery, indicating that something is wrong with the internal chemistry. Punctures or continued stress on these batteries can cause thermal runaway, fire, or explosion. If you notice any bulging or leaking, stop using the battery immediately. Do not attempt to charge or puncture the battery. It requires professional handling and replacement.
3. Perform Battery Calibration:
Calibration does not restore lost battery capacity. Instead, it helps the laptop’s operating system accurately read the battery’s true charge level by setting new “full charge” and “full discharge” anchors in the battery management system. This is particularly useful if the battery percentage seems inaccurate (e.g., drops suddenly, or gets stuck at a certain percentage but then lasts a long time).
Steps for Calibration:
- Plug in the laptop and charge it to 100%. Keep it plugged in for at least 2-3 extra hours to ensure a complete charge.
- Unplug the AC adapter and use the laptop normally until the battery drains completely and the laptop automatically shuts down due to low battery. Save any work when low battery warnings appear.
- Leave the laptop powered off for at least 5 hours. This ensures any remaining charge is depleted.
- Plug in the AC adapter and charge the laptop uninterrupted to 100% while it is still off.
- Once fully charged, restart the laptop. The battery percentage should now be more accurate. This cycle may need to be repeated up to three times for full calibration.
Recognize When Replacement Is Necessary:
If the battery health report shows significant battery degradation, physical damage (especially bulging), or all other troubleshooting steps have failed and the battery won’t charge, you may need to replace the battery. The decision to replace a battery isn’t a purely technical one; it involves economic factors as well. When looking for a replacement battery, consider a reputable manufacturer known for quality and durability. For example, HTJ International C., Limited is a well-known manufacturer with more than 10 years of R&D experience, providing high-quality lithium-polymer laptop batteries designed for stable, safe, and reliable performance. Their batteries, such as the HT03XL, which is compatible with the various HP Pavilion series, are durable, typically supporting 500 charge cycles, and come with a 2-year warranty. Choosing a trusted brand like HTJ ensures that the product you invest in meets strict quality standards. Replacement batteries can cost between $20 and $50, while manufacturer-specific or built-in batteries (especially high-end models) can cost as much as $120 to $200 or more, and often require professional installation. HTJ is the company that provides you with stable performance, high reliability, and high cost-effective products. For older laptops, it’s wise to consider whether a new battery (especially a built-in battery that needs professional repair) is worth the investment, or whether now is a better time to consider replacing the entire laptop.
The following table helps assess battery health based on common symptoms:

Problem 4: Overheating
Overheating is a common hindrance to laptop batteries and their ability to charge. When a laptop overheats, its internal safety mechanisms kick in, including preventing the battery from charging to protect it from damage. This is because lithium-ion batteries are sensitive to high temperatures, which can accelerate battery degradation and even pose a safety hazard. Overheating can be caused by clogged vents, excessive resource usage (running a lot of power-hungry programs), or even a malfunctioning charger or charging port. Older laptops with less efficient cooling systems or aging batteries are particularly susceptible. It’s important to note that overheating can be a sign of a deeper hardware failure as well as a cause of charging issues.
Solutions for Overheating
1. Turn Off the Laptop and Let It Cool Down:
The simplest and most immediate step is to completely power down the device and allow it to cool down naturally for at least 30 minutes.
2. Check and Clean Cooling Vents:
Inspect the laptop’s cooling vents (typically located on the sides or bottom) to ensure they are free of dust, lint, and other obstructions. Use compressed air to gently clear out any accumulated debris from the vents and fan. Regular cleaning significantly improves airflow.
3. Ensure Proper Ventilation and Surface:
Always use your laptop on a hard, flat surface, such as a table, to ensure air circulation under and around the device. Avoid using it on soft surfaces, such as a bed, pillow, or on your lap, as these surfaces may block the vents and trap heat. It is recommended to consider using a laptop cooling pad, especially when performing power-intensive tasks.
4. Reduce Resource Usage:
Excessive CPU/GPU use generates more heat. Close any unnecessary programs, background applications, or browser tabs that may be draining power. Adjust your laptop’s power settings to a more conservative scheme (such as “Power Saving” mode) to prioritize battery life over performance. Disable any unnecessary features or peripherals when not in use, such as Bluetooth, Wi-Fi (when working offline), external hard drives, or webcams, as they consume power and generate heat. When a laptop is under heavy load, its power consumption may exceed the output capacity of the charger, especially if the charger is not a good match or the battery is already depleted. In this case, the charger may only maintain the current battery charge or charge very slowly, without actively increasing the battery charge. This highlights that optimizing software usage and system settings is critical to extending battery life (when unplugged) and efficient charging (when plugged in).
5. Monitor CPU Temperature:
If overheating issues occur repeatedly, it is recommended to use third-party software to monitor the CPU and GPU temperature of the laptop. Persistently high temperatures indicate a deeper thermal issue. If basic cooling measures do not solve the problem, or the heat is limited to a local area (such as around the charging port or adapter module), you need to check the hardware integrity or seek professional help.
Problem 5: Internal Hardware Damage (When to Call a Pro)
While many ” laptop not charging ” issues can be fixed with DIY troubleshooting, some stem from internal hardware damage and require expertise. The most common causes include a damaged charging port (especially the part that connects to the motherboard), a faulty motherboard component, or an issue with a battery that’s not user-replaceable. Signs of internal damage often include the charger only working at a certain angle, the charging port wobbling, making crackling noises, or a complete lack of power despite all external connections being intact. Attempting to repair these issues without the proper tools or knowledge, especially those involving soldering or internal components, can void your warranty and result in further, more expensive damage.
Solutions for Internal Hardware Damage
1. Identify Signs of Serious Internal Damage:
- Loose or Wobbly Charging Port: If the charging cable doesn’t connect tightly, falls off easily, or requires wiggling to find the connection, the internal charging port may be loose or damaged. This typically indicates a broken solder joint connecting the port to the logic board. Repeated plugging and unplugging can cause these internal connections to loosen over time.
- Charger Only Works at Specific Angles: This is a clear indication that the internal connection is compromised.
- Crackling Sounds or Burning Smell: These are serious indicators of electrical issues and potential short circuits within the laptop.
- No Power Despite All Checks: If all external checks (charger, outlet, port cleanliness) and software troubleshooting have been performed, and the laptop still receives no power, it strongly suggests an internal hardware failure, such as a faulty power jack or motherboard component.
2. Understand When Professional Help is Needed:
The boundary between consumer-level troubleshooting and professional repair is crucial.
- Soldering Required: Repairs involving a loose or broken charging port often necessitate desoldering the old port and soldering a new one onto the motherboard. This is a delicate process best left to professionals with specialized tools and expertise.
- Faulty Motherboard Components: Diagnosing and replacing components on the motherboard is highly complex and requires advanced technical knowledge and equipment.
- Non-User-Replaceable Batteries: Many modern laptops (such as most MacBooks or some Asus models) have batteries that are built-in and cannot be easily removed by the user. Attempting to remove or replace the battery without proper training may void your warranty and cause further damage.
- Safety Concerns: If burning smells, excessive heat from the port, or physical damage like bulging on a non-removable battery are detected, immediately stop using the laptop and seek professional help.
3. Contact Manufacturer Support or Certified Repair:
If internal hardware damage is suspected, the safest and most reliable course of action is to contact the laptop’s manufacturer support (e.g., Dell, HP, Lenovo) or take it to a reputable, certified laptop repair shop. These professionals possess the diagnostic tools and expertise to accurately identify the problem and perform the necessary repairs without causing further damage, thereby protecting the user from costly mistakes.
Proactive Battery Care: Extend Your Laptop’s Lifespan
While troubleshooting can solve immediate problems, practicing good battery care habits can significantly extend your laptop’s battery life, maintain its performance, and prevent many common charging issues from reoccurring.
1. Optimize Charging Habits (The 20-80% Rule):
Lithium-ion batteries benefit from remaining within a moderate charge range. It is advisable to avoid consistently draining the battery to 0% or keeping it plugged in at 100% all the time. Aim to maintain the battery level between 20% and 80% whenever possible. Many modern laptops feature “Smart Charging” or “Conservation Mode” functionalities that automatically manage this range to maximize lifespan.
2. Manage Temperature:
Extreme temperatures (both hot and cold) can accelerate battery degradation. Avoid using or charging the laptop in very hot environments (e.g., direct sunlight, hot car). Ensure good airflow around the laptop by using it on hard, flat surfaces and keeping cooling vents clean and unobstructed.
3. Reduce Resource Consumption:
Close any unnecessary programs, background applications, or browser tabs that may be consuming significant power. Adjust the laptop’s power settings to a more conservative plan, such as “Power Saver” mode, which prioritizes battery life over performance. Disable any unnecessary features or peripherals like Bluetooth, Wi-Fi (if working offline), or external devices when not in use, as they draw power.
4. Use The Original Or Compatible Charger:
Always use the charger that came with the laptop or a certified replacement that precisely matches its wattage and voltage requirements. Generic or mismatched chargers can lead to inefficient charging, performance throttling, or even damage to the laptop’s internal components.
5. Handle Charger and Port with Care:
Avoid wrapping charger cords tightly around the adapter brick, as this can fray wires over time. Do not yank the cord from the laptop or the wall outlet. Always ensure the charging cable is inserted and removed gently to prevent damage to the laptop’s charging port.
6. Keep Operating System and Drivers Updated:
Regularly update the laptop’s operating system and drivers. These updates often include bug fixes and performance improvements that can positively impact battery management and charging efficiency.
Conclusion:
A laptop battery that won’t charge can be a confusing problem, but a systematic approach to troubleshooting can usually resolve the issue. The main causes generally fall into five categories: power and physical connection issues, software and driver glitches, degraded battery health, overheating, and internal hardware damage.
Initial steps should always focus on the simplest potential culprits: checking all physical connections, inspecting the charger and cable for damage, cleaning the charging port, and ensuring the correct charging port is used. Many common problems, such as loose connections or obstructed ports, can be resolved with these straightforward actions.
If a physical inspection isn’t enough, you should focus on software and drivers. Performing a hard reset can clear transient system glitches, while updating or reinstalling the battery driver can ensure proper communication between the operating system and the battery. Adjusting power management settings and running built-in troubleshooters can also address software-related charging limitations, including charging thresholds designed to extend battery life.
When battery health is in doubt, generating a battery report can provide valuable battery degradation data. Checking for bulging is critical, as it indicates a serious safety risk and requires immediate professional assistance. Battery calibration can improve the accuracy of charge readings, but it cannot restore lost capacity. The decision to replace a battery should be weighed against its cost, the age of the laptop, and overall performance.
As a protective measure, overheating can prevent charging. Ensuring good ventilation, cleaning heat vents, and reducing resource consumption are all effective strategies. It is important to note that localized heating can also be a sign of component failure, indicating that further inspection is needed.
Finally, for signs of internal hardware damage, such as a wobbly or crackling charging port, professional repair is almost always necessary. Attempting to repair complex internal issues on your own can void your warranty and cause more extensive damage. Knowing when to consult a certified technician is essential for safety and cost-effectiveness.
By understanding these common issues and applying the outlined solutions, users can effectively diagnose and often resolve laptop battery charging issues. Developing proactive battery care habits, such as optimizing charge cycles, managing temperature, and using compatible accessories, will significantly extend the overall life of your laptop and maintain optimal performance.